STEP 5 PETAL PUNCHED FLOWERS INTO ROSE

Do you like these roses? Check out this tutorial about how to make them! This is my first tutorial, so helpful criticism is appreciated! Just leave a comment!
Materials Needed:

A sheet of patterned paper or cardstock; Quick Dry Glue (I used Scotch Quick-Dry Tacky Adhesive); mini-mister; bamboo (or other) skewer; 5 petal flower punch 1 1/2" to 2" (though you could probably adapt it to use with a 6 petal punch, my punch was 1 3/4"); scissors

STEP 1: Punch out 3 flowers using flower punch. ALTERNATIVE: Use a die cut machine to cut out 3 identically sized flowers between 1 1/2" and 2".
OPTIONAL STEP: Ink edges if desired.

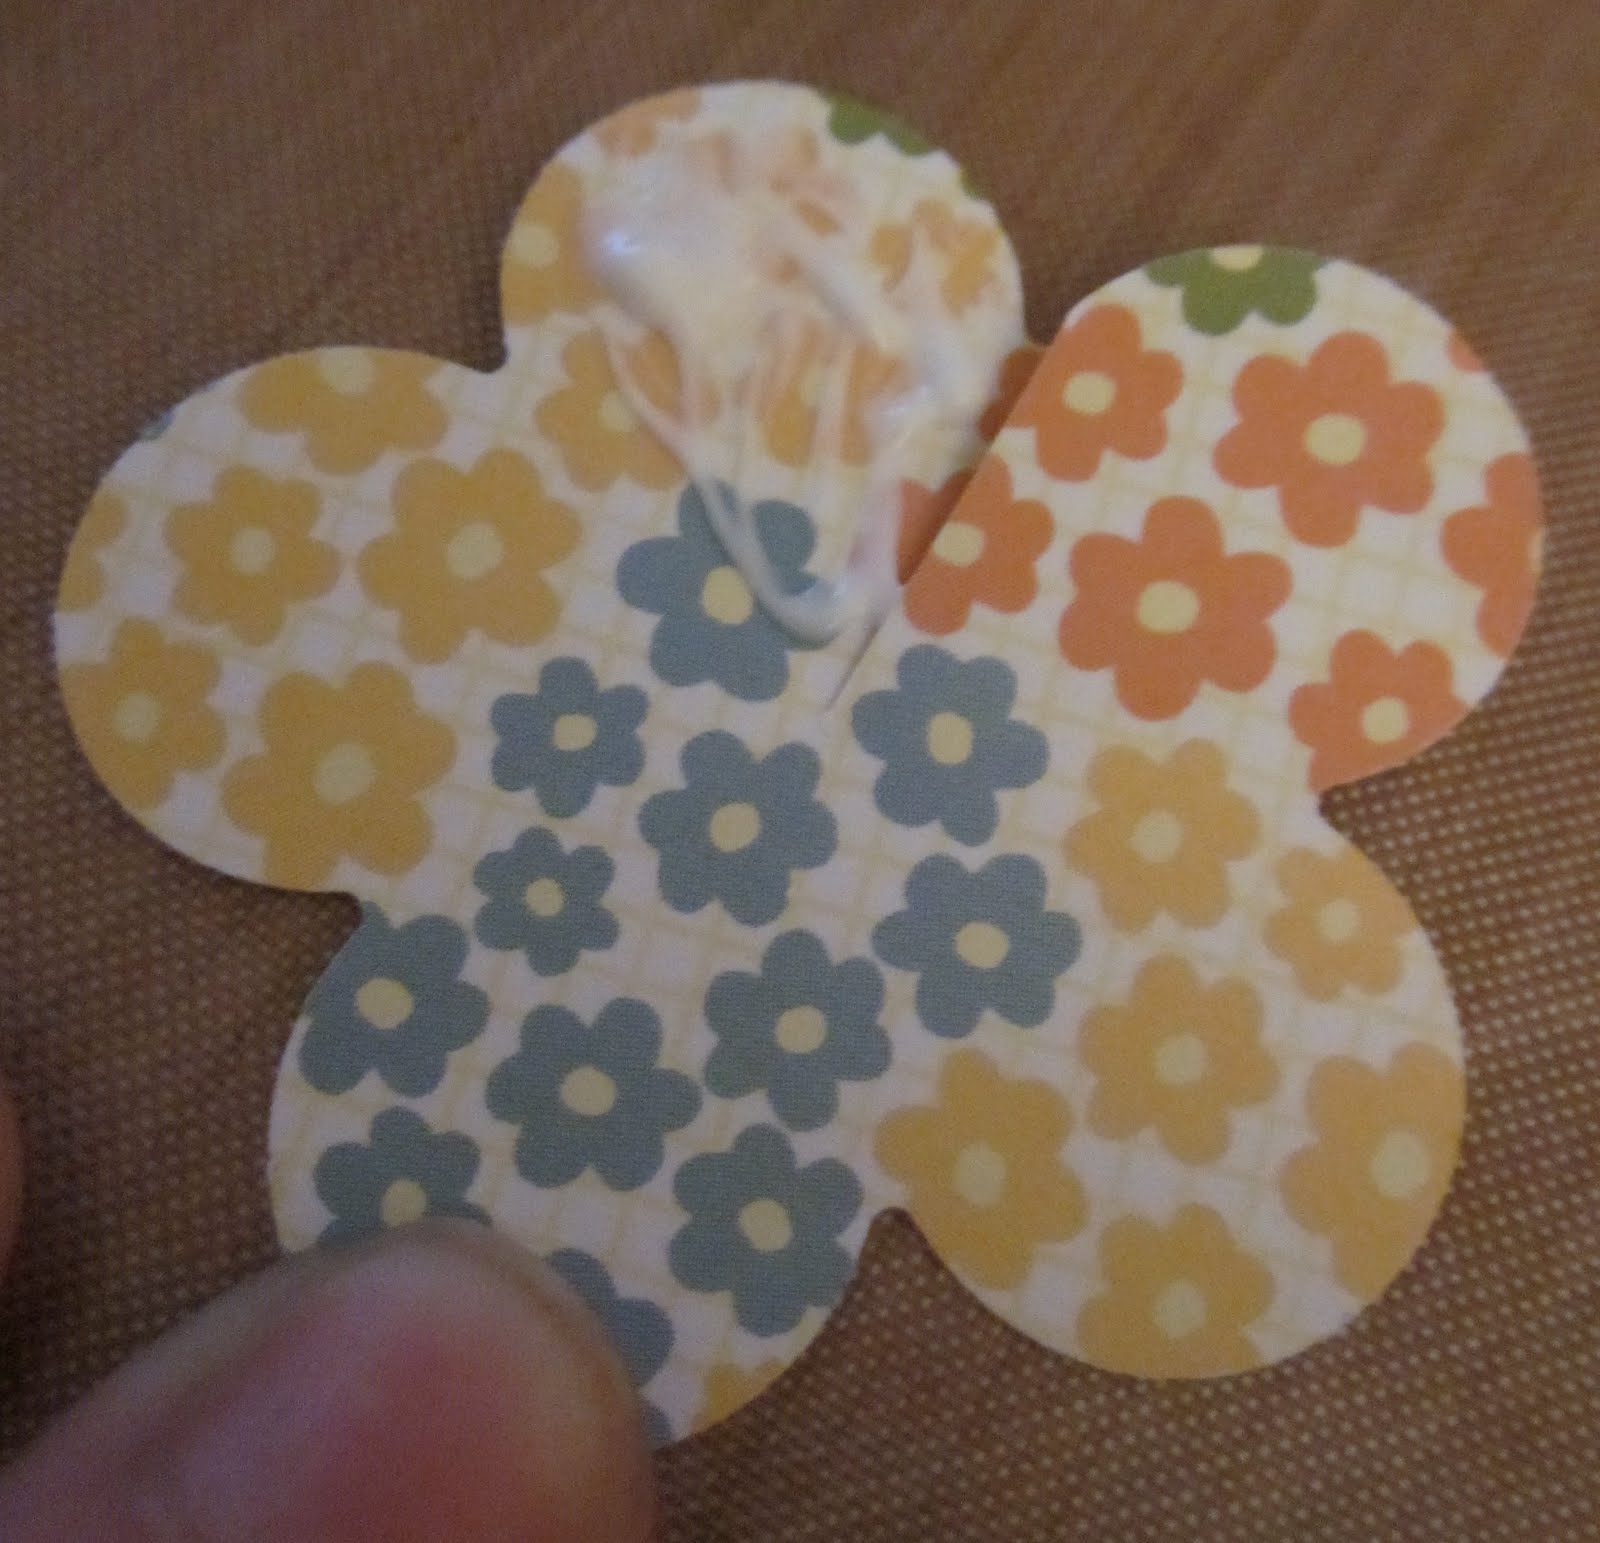
STEP 2: Cut the Pieces--Take the 1st punched flower and cut a slit into it between two petals half of the diameter of the center of the flower (as shown by the 1st flower pictured--looking at it left to right). Take the second punched flower and cut out one petal as shown (pieces 2 and 5 in the picture from left to right). Take the 3rd flower and cut out 2 petals (pieces 3 and 4 in the picture above). You will now have 5 pieces.


STEP 3: Glue pieces of flower into cone like shapes. Put Quick-Dry Glue on the petal left of the cut in the flower then over lap the petal to the right of the cut to make a cone like shape as shown below. TIP: Hold the petals you are gluing together for a few seconds to make sure they are adhered firmly. Repeat for each of the 1st 3 pieces (5 petals, 4 petals, and 3 petals pieces).


STEP 4: Use the mini-mister filled with water to spray the BACK side of the cones of paper to make it easier to roll edges of the flowers. Use a skewer once cone is damp to roll each edge of the 3 cones you created in Step 3. With the 2 petal piece, roll one edge down, like the other cones (if it is like an upside down heart, the edge you roll down is on the right)--then (upside down heart left side) roll in towards center creating a cone. With the 1 petal--roll around skewer to create cone. Here is what your final result will be:


STEP 5: Putting all the pieces together. Take bottom, 4 petal piece and put a dot of Quick-Dry Glue in the point of the cone, put the 3 petal layer into the 4 petal layer and hold until glue almost dries. Take 3 petal cone and 4 petal cone which are now glued together and put a dot of glue in the top, 3 petal cone and then put the 2 petal cone into the 3 petal cone and hold until glue almost dries. Add a big dot of glue to the 2 petal cone (currently the top layer) and take the 2 petals (one rolled down, one rolled into cone) and place it into the 2 petal cone. Finally, place 1 petal center cone into the center of the flower. You can arrange the roses layers until they look "right" to you and it looks like a rose!
Here is a picture of the final product:

Materials Used for this particular rose: patterned paper (Pebbles May Bouquet Collection--Bloom) from cropchocolate.com; adhesive (Scotch Quick-Dry Tacky Adhesive); scissors (Fiskars); punch (EK Success Paper Shapers--5 Petaled Flower); miscellaneous tools (Preferred Products Bamboo Skewers 10" Long; Ranger Ink Mini-Mister)
